
Is it time to get your backyard ready for your end of Summer BBQs? Here is an easy way for you to enjoy and tackle those garden DIY projects.
There is nothing like the perfect outdoor BBQ on a warm Summer night with great friends, seasonal foods and drinks and the perfect playlist. As summer begins to wrap up it’s hard to say goodbye to our favorite seasonal soirees but there’s still time left to get your last BBQ bash in before the season ends. Getting your outdoor entertainment area ready can be a time-consuming task and while you may have chosen your favorite Pin-worthy theme you might find your space still needs something to bring it to life.
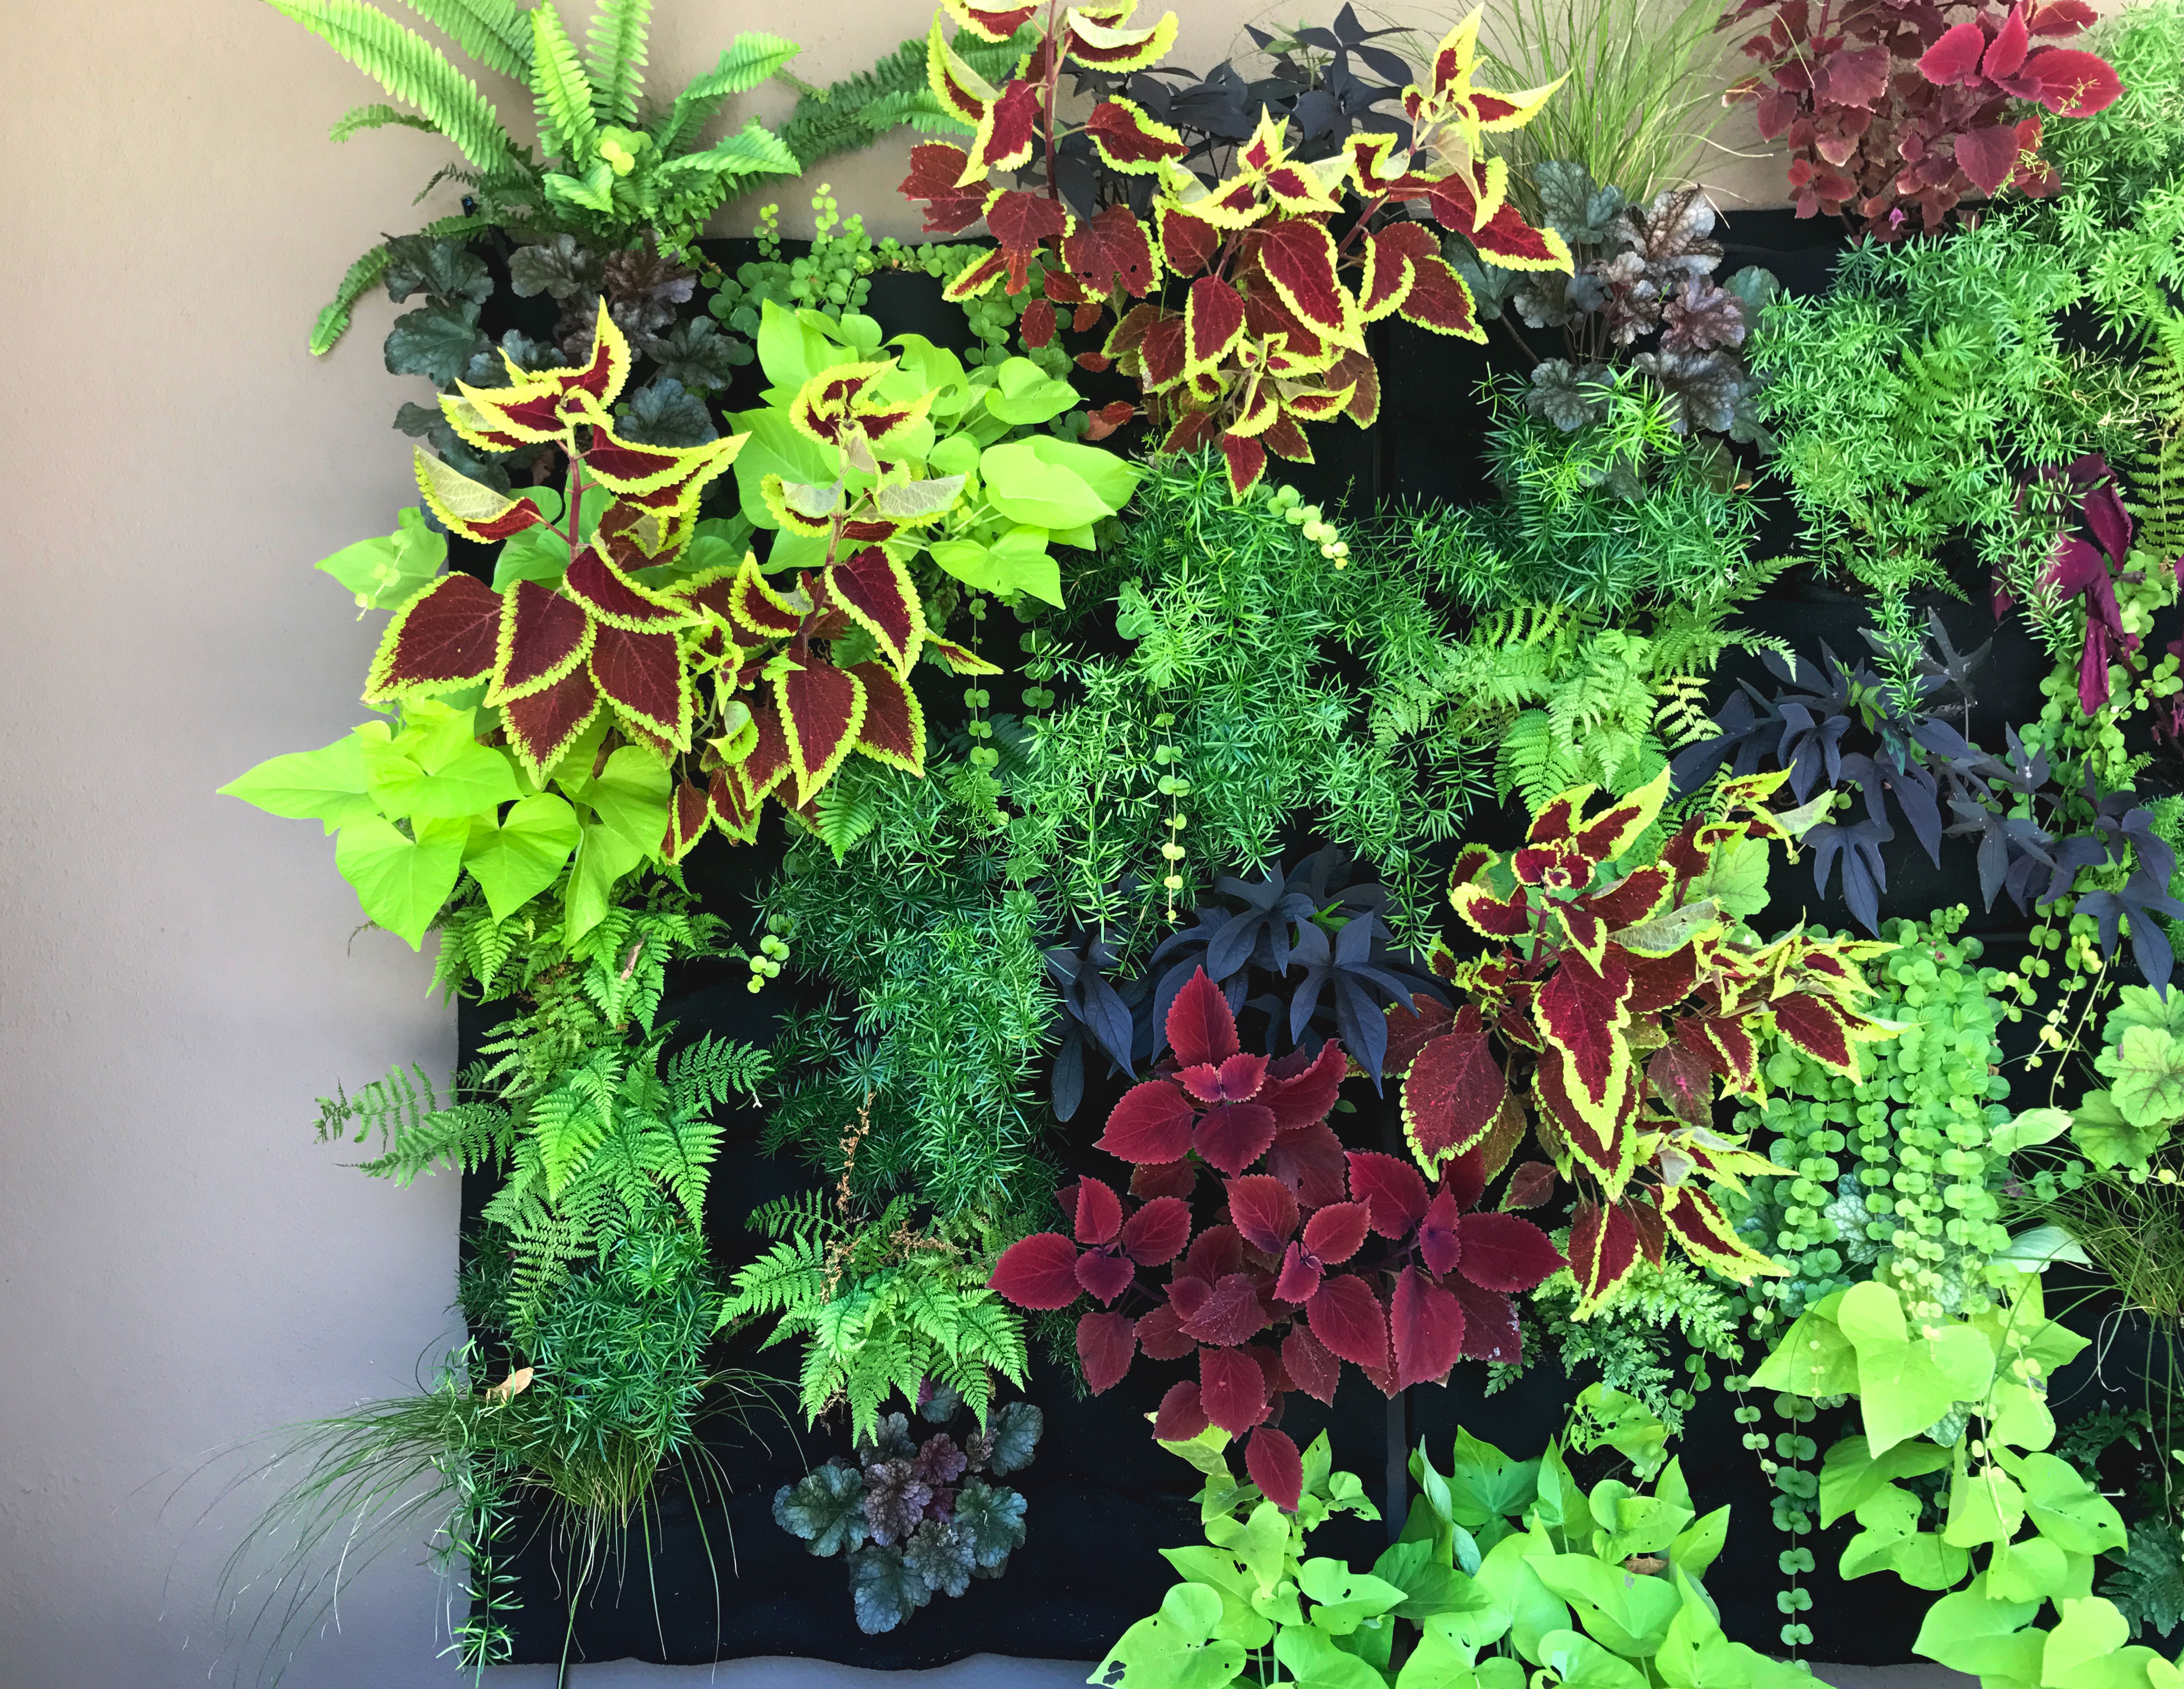
A Leafy Living Wall is an easy way to decorate any outdoor living area big or small, it will quickly transform your backyard, deck or patio into the perfect entertaining space. There is also no doubt that it will wow your guests!
The Transformation
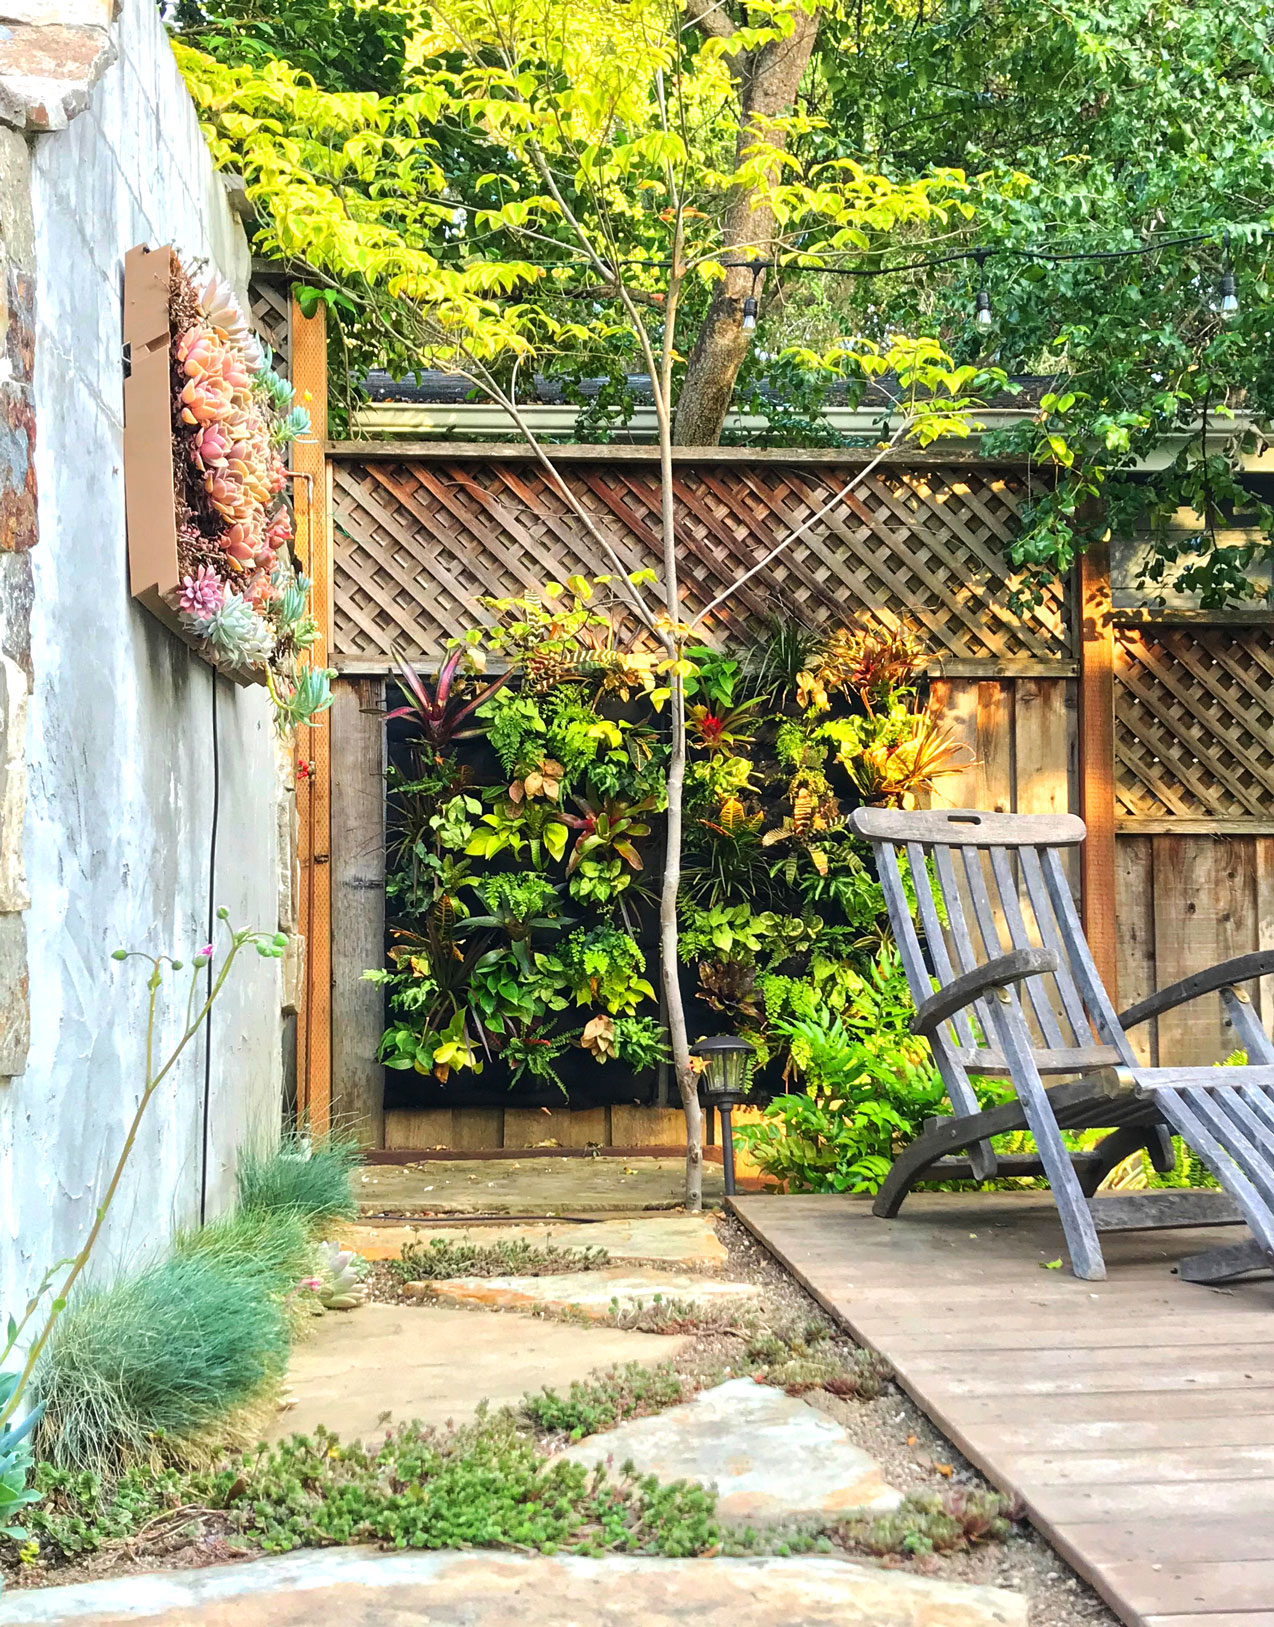
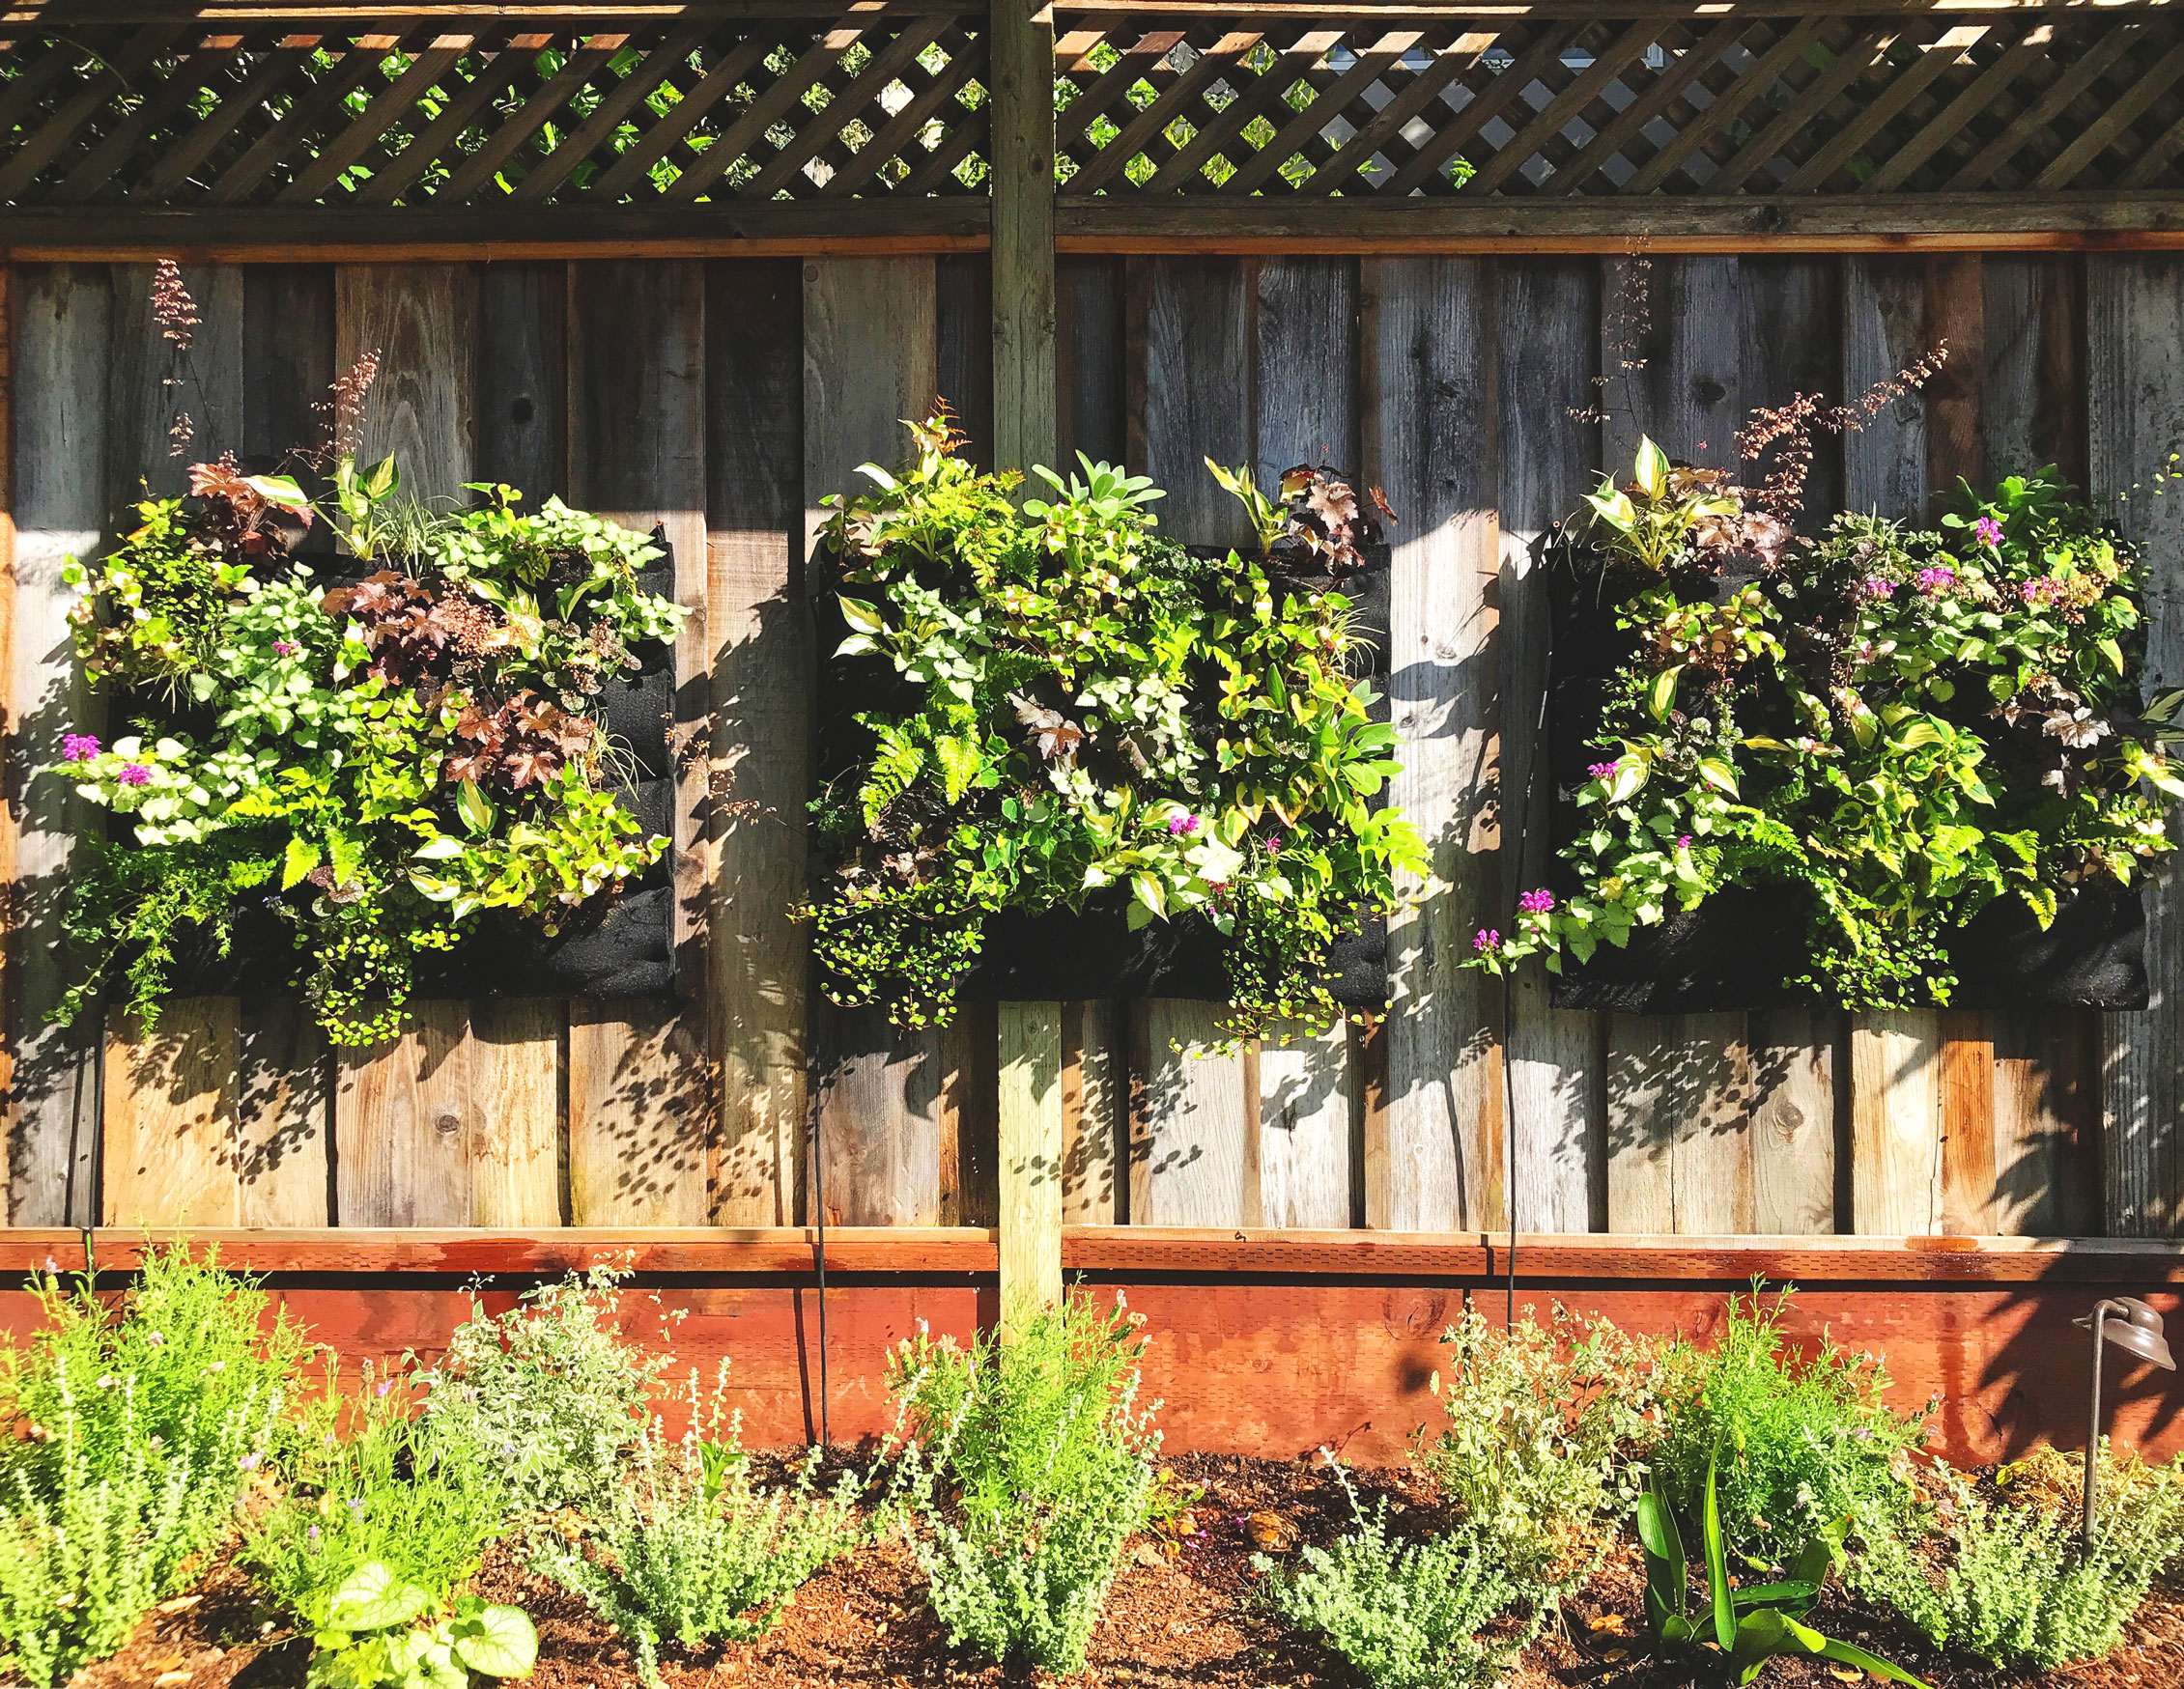
You wouldn’t believe the transformation that a Living Wall can have on outdoor spaces. It will add texture and color to your bare walls, hide undesirable fences or rotting wood or even provide a bit of privacy from close neighbors. You can also use your Living Wall as the main attraction in your outdoor lounging area, giving people an opportunity to gather around and enjoy the natural beauty of plants.
Moj Khalili used a Living Wall to bring a part of her backyard that was dead space back to life. With her Living Walls as the main attraction, Moj created a nook that began to take on an entirely new vibe. It has now become the perfect place to spend time whether it’s relaxing with a good book or having friends over to take in the summer evenings. Now, anytime she has company over, they can’t help but marvel at the plant haven she has created.
MY LIVING WALL COMPLETELY TRANSFORMED THIS EMPTY PATIO IN MY BACKYARD INTO A PLACE WHERE EVERYONE WANTS TO HANG OUT NOW
– Moj Khalili


Build you Own Living Wall
Are you feeling inspired to bring a Living Wall into your outdoor space? Building a Living Wall is easy and fun and we are going to tell you exactly how to do it.
Step 1 Gather the Supplies
Planted Places will send you everything you need to build your Leafy Living Wall so no need to sweat about planter structures, the right plant combinations, designing the perfect look, or obscure irrigation equipment.
You can choose from a selection of Leafy Living Wall Garden Kits on the Planted Places website. We source the plants directly from the grower so they are always fresh and early on in their life stage so that they can grow nicely into their new home.
We have figured out a way to pack your plants to ensure that they will survive the trip to your house. In fact, we worked with packaging engineers and did multiple test shipments to ensure that your plants will arrive safely — no matter where you live in the US.
Step 2 Stage your Plants
Lay your pocket planter on a flat surface and stage your plants on top of it to ensure proper placement according to the design guide. Don’t be afraid to unleash your inner gardener and add your own personal style to the design!


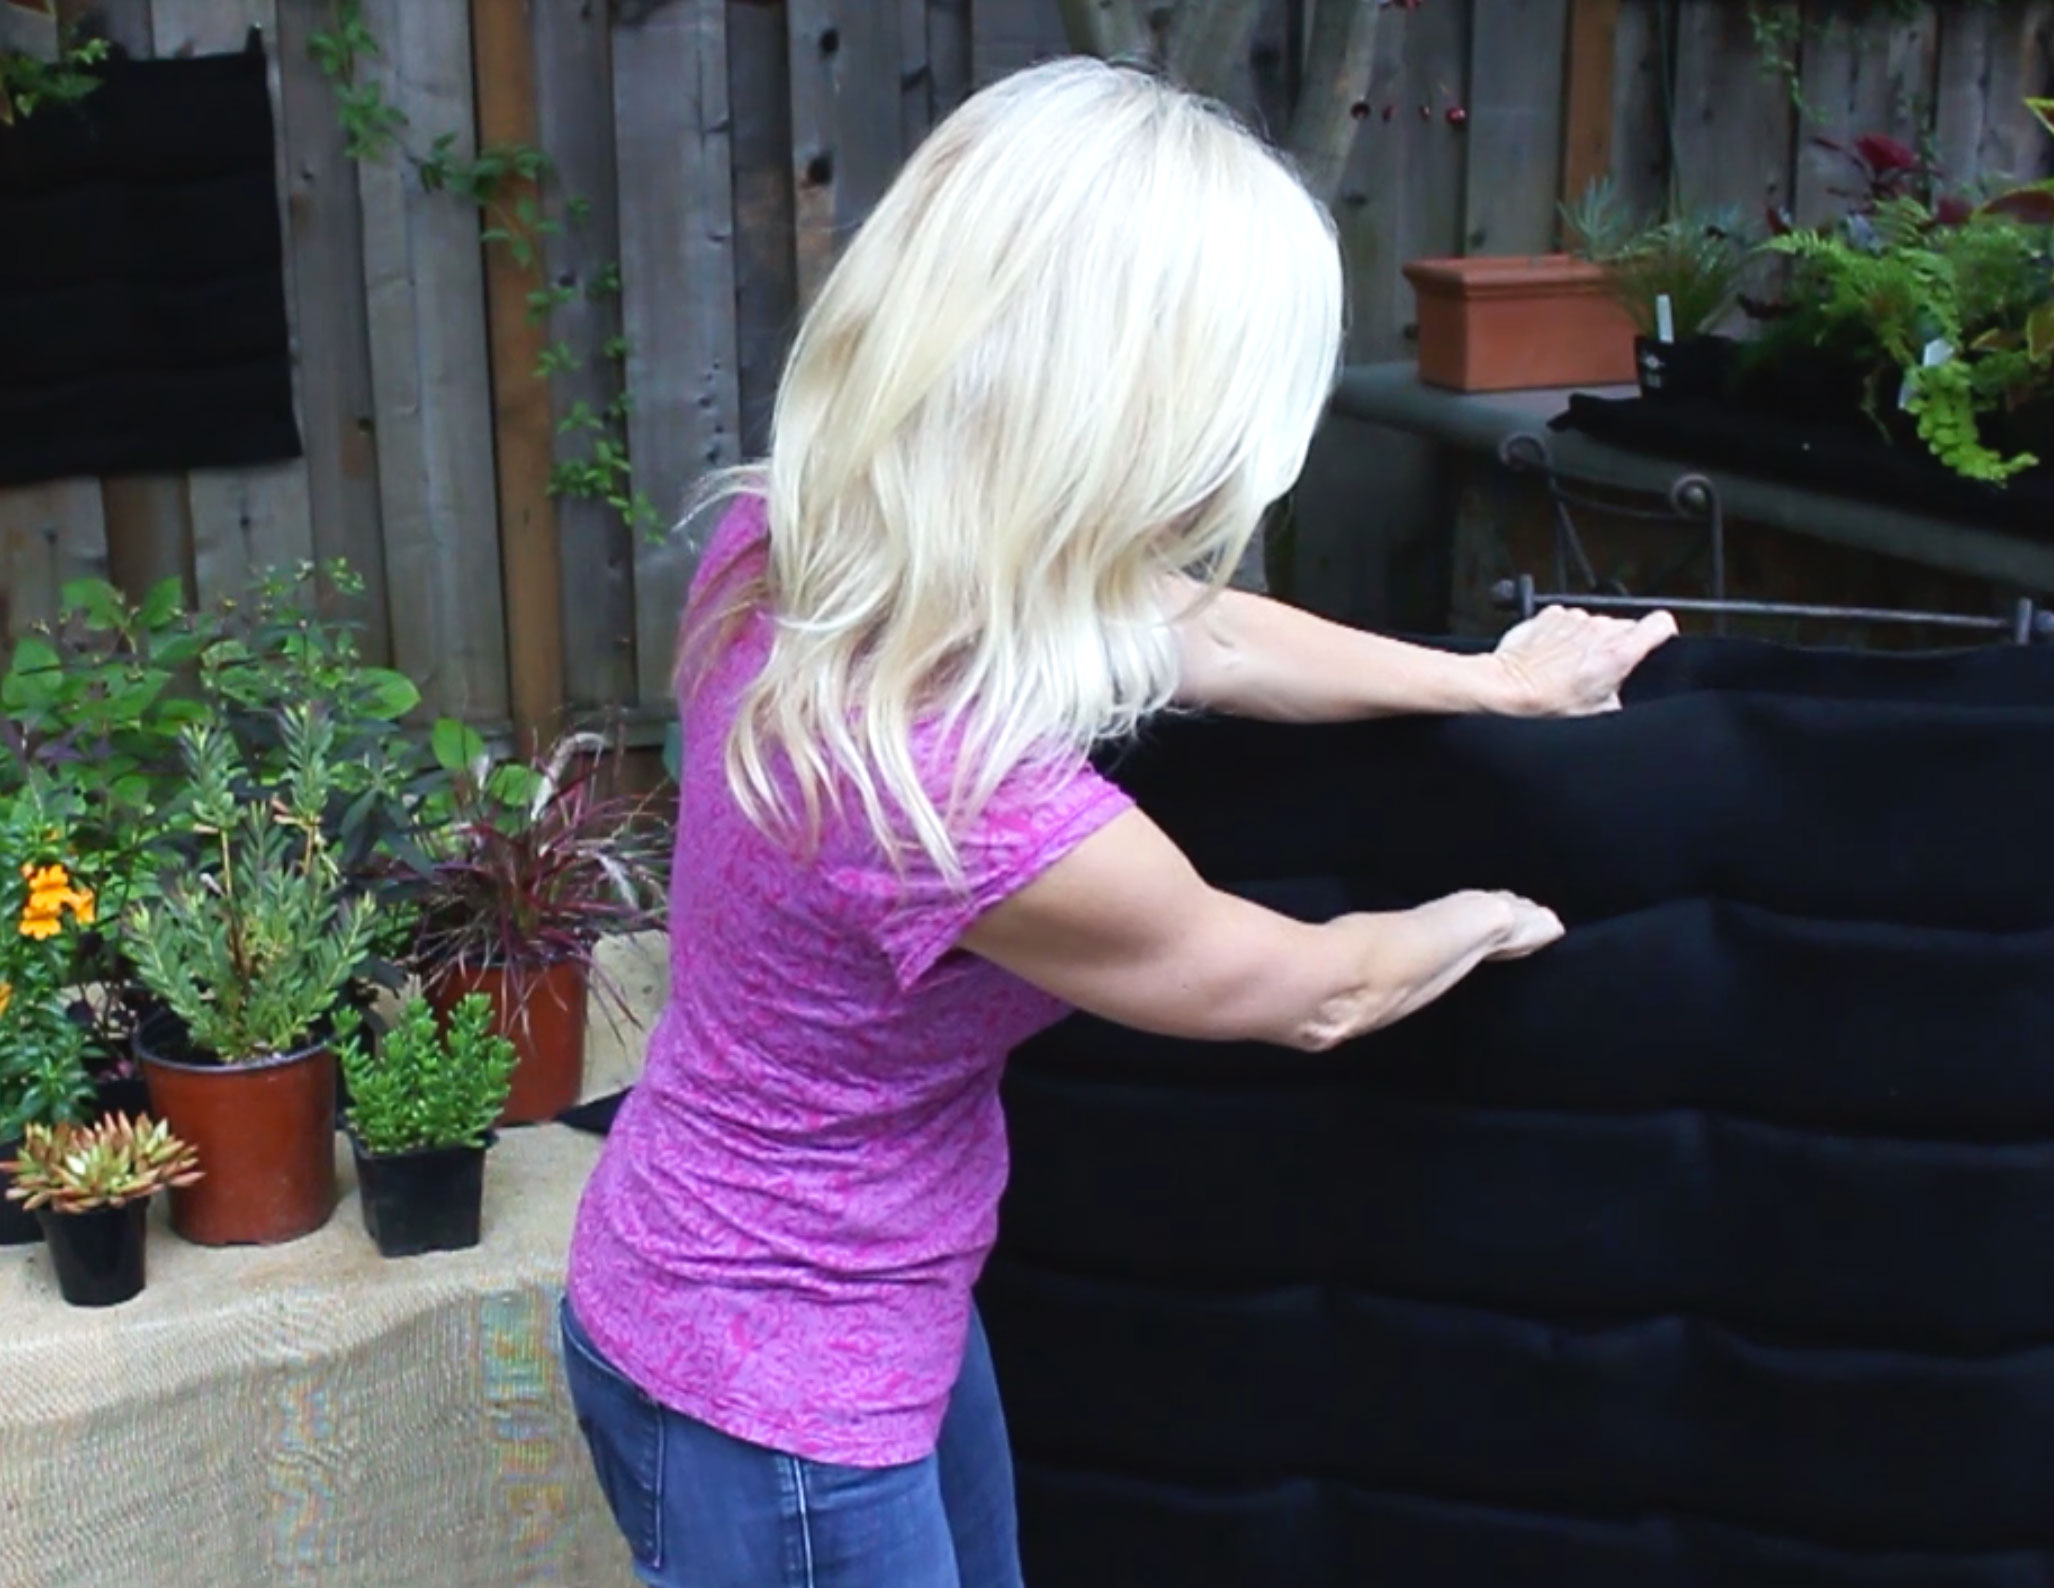
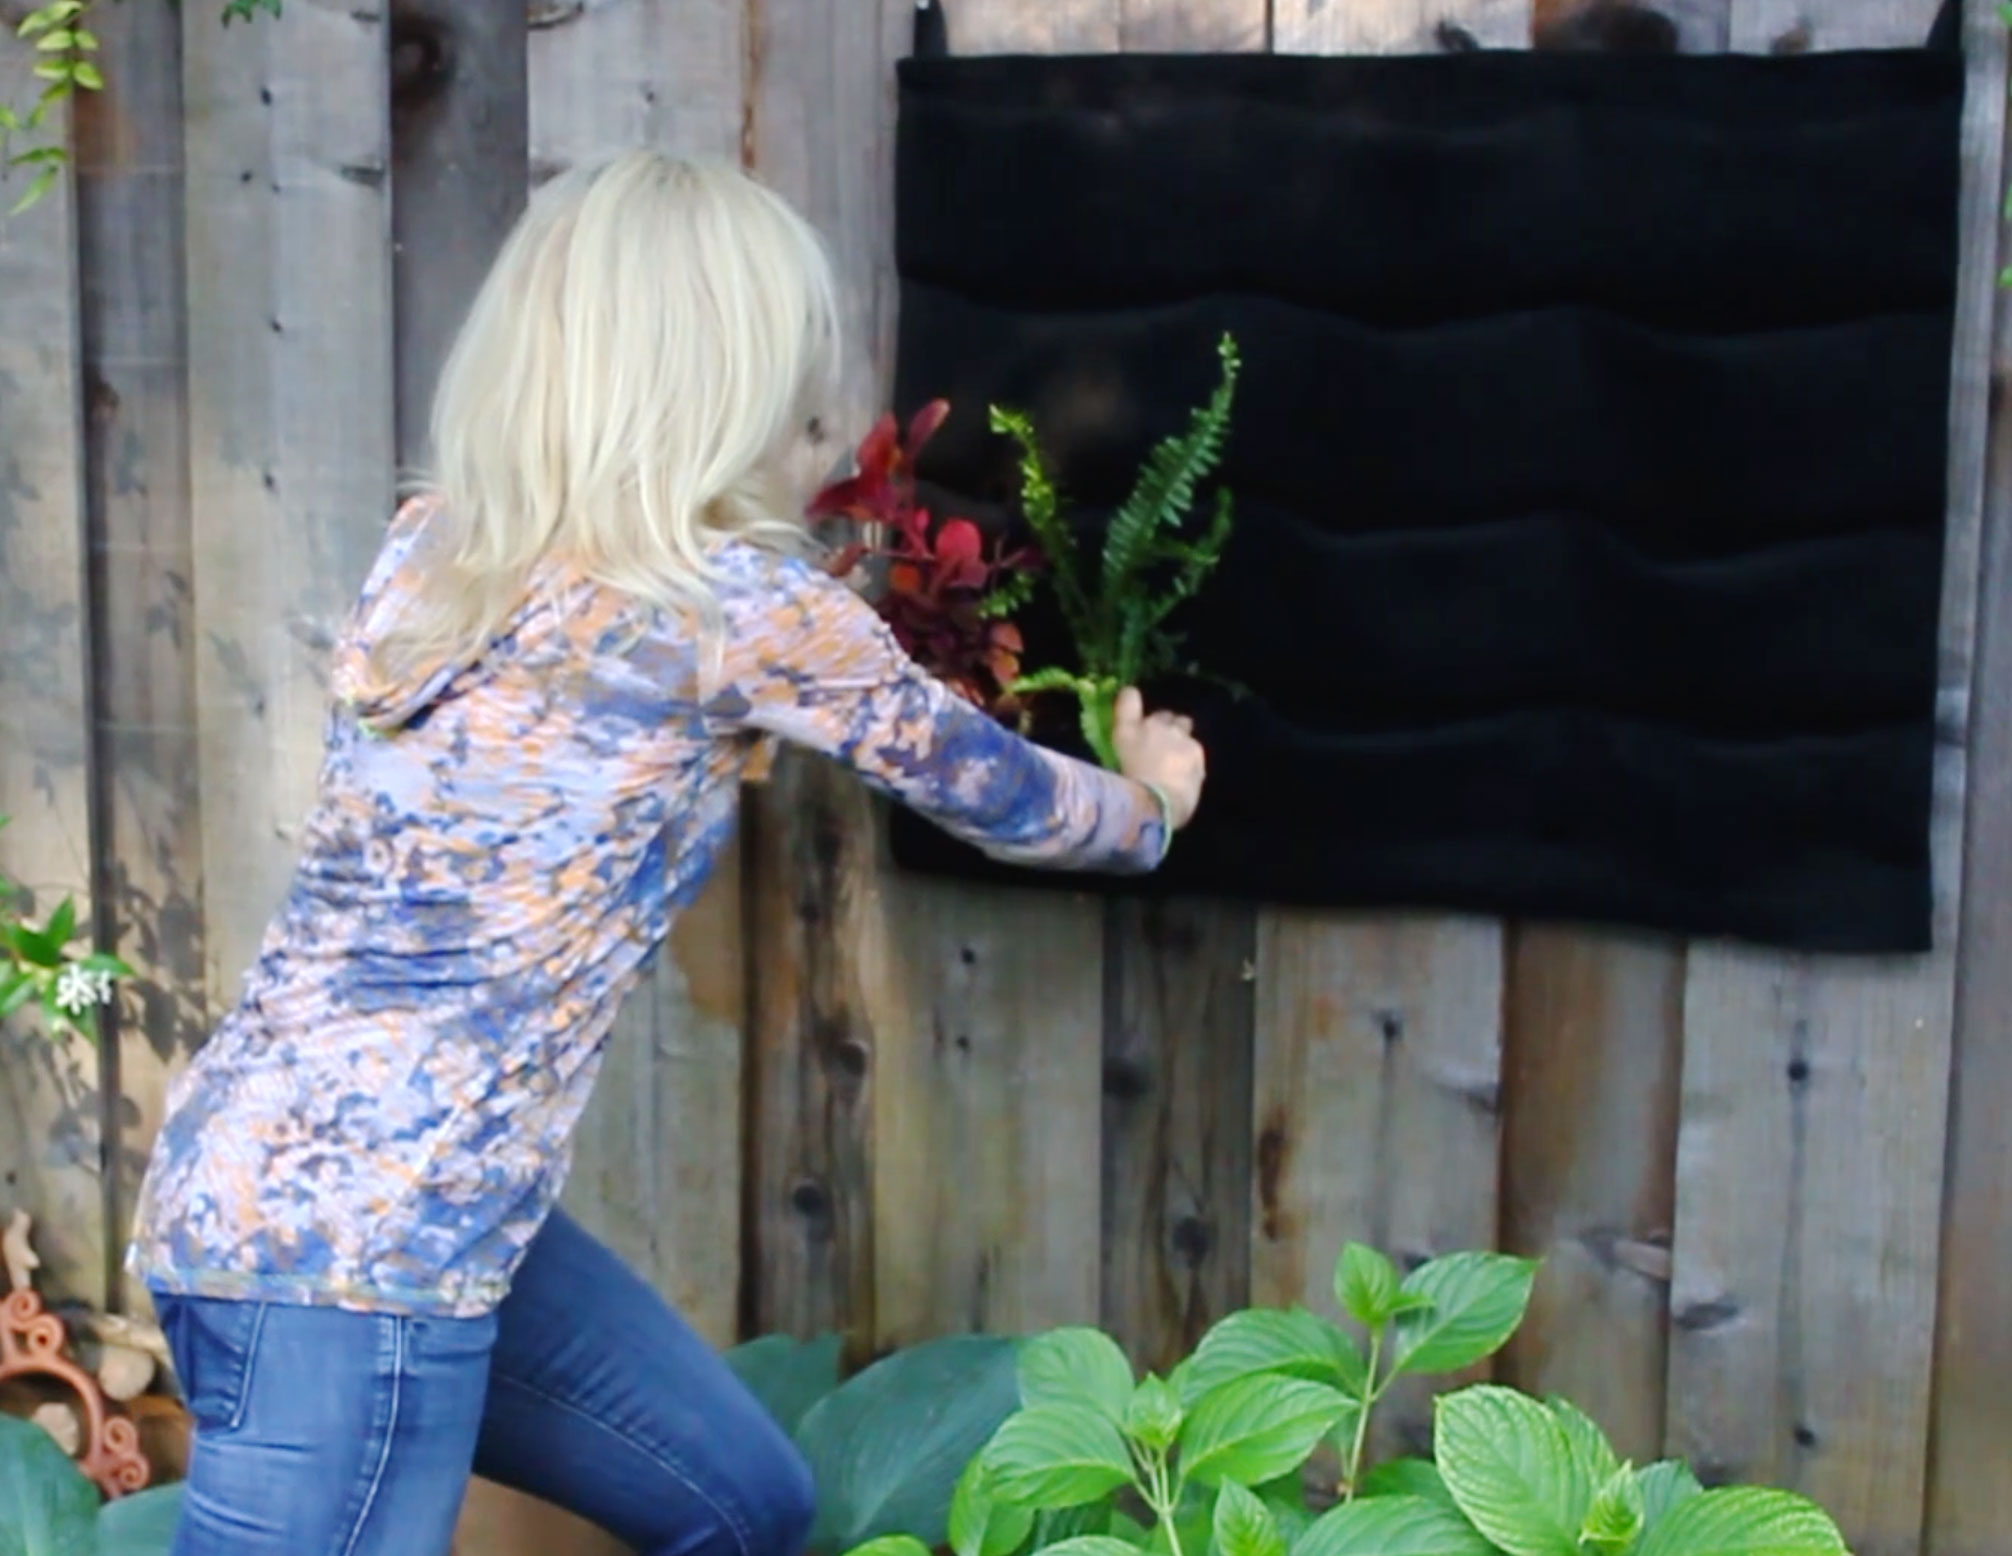
Step 3 Prep the Felt Pocket Planter
Before you get started with your plants, stretch out the pockets in the wall pocket planter structure so that the wrapped plants will fit securely into each pocket.
Step 4 Swaddle the Roots
Place a felt square on a flat surface so that it resembles a diamond shape. Fold down the top point and place your first plant on the felt, removing as much dirt as possible without disrupting the root system.
Once the plant is in place, roll in the bottom point of the felt diamond and fold it up onto itself, fully covering the roots of the plant without wrapping the leafy part. Next, fold in the right and left sides of the diamond, the same way you would swaddle a baby. To finish, wrap your rubber band around the swaddled plant to keep it secure.
Step 5 Place in Planter
When you’ve finished wrapping your plant, place it in it’s designated pocket in the planter according to the design. Start with the plants that will be placed in the bottom row of your pocket planter and work up from there. Repeat Step 4 and 5 until your entire pocket planter is filled with your plants!
Step 6 Hang your Planter
Mount your Living Wall using the mounting tabs and mounting instructions included in your shipment.
Step 7 Connect the Drip Line & Enjoy!
The Felt Pocket Planter acts much like a hydroponic growing system. As the planter is watered, the felt becomes saturated with water and the root system grows into the felt. It’s important to not overstuff your pockets with soil so that your roots can grow easily into the planter. Each shipment comes with a drip line that you can attach to your existing irrigation system using 1/4″ tubing or you can simply use a water hose to hand water your planter (keep in mind that it will require frequent watering, depending on the location of your planter – especially if it is in the sun).
For instructional videos on how to build and care for your Leafy Vertical Gardens, be sure to check out the Planted Places resource page as well as our YouTube channel.
Now, you can sit back and be proud of that beautiful garden you just built! Your BBQ guests will be wondering where your green thumb came from!
